How to Make Perfect Fried Chicken Tenders: A Step-by-Step Guide
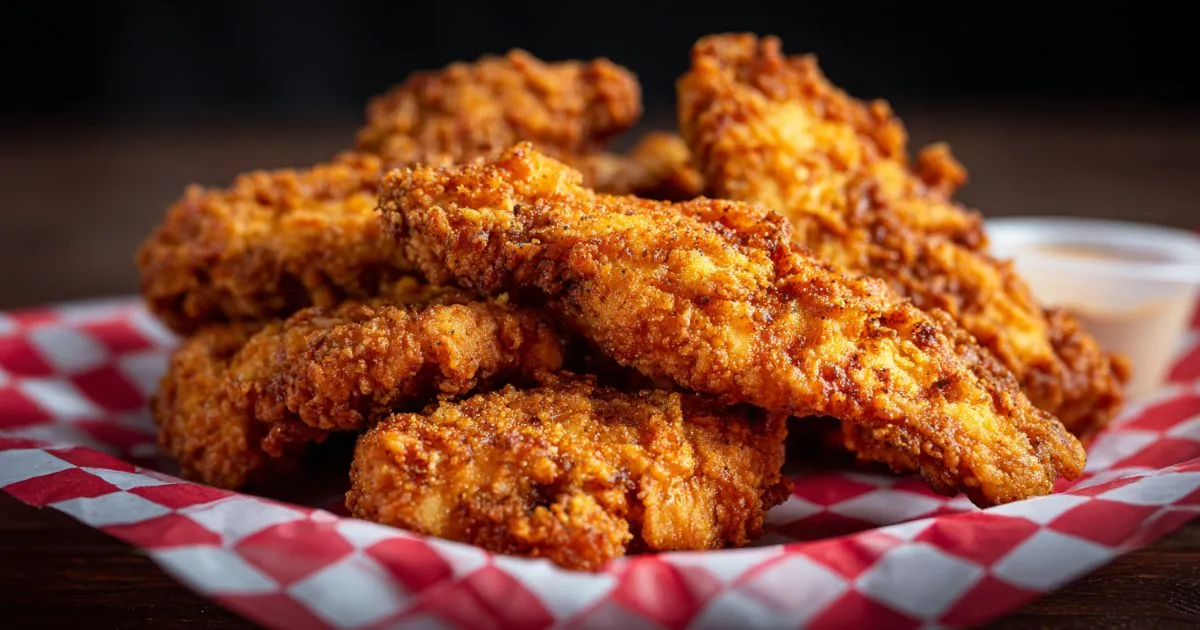
If you’ve ever had that craving for crispy, golden, tender chicken tenders, you know exactly how satisfying it can be to bite into that perfect piece of fried goodness. Whether you’re looking for a quick weeknight dinner or a crowd-pleasing appetizer, homemade fried chicken tenders can be your go-to dish. In this guide, we’ll walk you through everything you need to know to make perfect fried chicken tenders every time. From choosing the right ingredients to expert frying tips, you’ll soon be the go-to fried chicken expert in your kitchen!
Table of Contents
Why You Need This Recipe
There’s something special about homemade fried chicken tenders that store-bought ones just can’t match. They are crispy on the outside, juicy on the inside, and full of flavor. The best part? You can customize the seasoning and breading to suit your preferences. This recipe is designed to deliver perfectly crispy chicken tenders with a tender, juicy inside, every single time. Let’s dive into the details!
Ingredients You’ll Need for Perfect Fried Chicken Tenders
Before you get started, let’s gather everything you need to make these delicious fried chicken tenders. While the ingredients list may seem a bit long, they’re all essential to achieve that crispy texture and incredible flavor.
Essential Ingredients
- Chicken:
- 1.5 pounds of boneless, skinless chicken breasts or tenders
- Coating:
- 1 cup all-purpose flour
- 1 cup panko breadcrumbs (for extra crunch)
- Seasonings:
- 1 tsp salt
- 1 tsp pepper
- 1 tsp paprika
- 1/2 tsp garlic powder
- 1/2 tsp onion powder
- 1/2 tsp cayenne pepper (optional, for a bit of heat)
- Wet Ingredients:
- 2 large eggs
- 1/4 cup milk or buttermilk
- For Frying:
- Vegetable oil (enough to fill your frying pan about 2 inches)
How to Prepare Fried Chicken Tenders: Step-by-Step
With all your ingredients ready, it’s time to dive into the cooking process. Follow these steps, and you’ll have crispy, golden tenders in no time.
Step 1 – Preparing the Chicken
Start by cutting your chicken into uniform strips. Whether you’re using chicken breasts or pre-cut tenders, make sure the pieces are all around the same size. This ensures they cook evenly.
- Tip: If you’re using chicken breasts, you can slice them into tender-sized pieces or even tenderize them a bit by gently pounding them with a meat mallet. This will ensure they’re extra tender.
Step 2 – Setting Up Your Dipping Stations
To ensure your tenders get a perfect coating, set up three separate bowls:
- Flour Bowl: Combine your flour, salt, pepper, paprika, garlic powder, onion powder, and cayenne pepper in this bowl.
- Egg Wash Bowl: In a separate bowl, whisk together the eggs and milk (or buttermilk) until well combined.
- Breadcrumb Bowl: Finally, in another bowl, add your panko breadcrumbs.
This three-step dipping process creates a crispy crust while sealing in the juiciness of the chicken.
Step 3 – Coating the Chicken
Now, it’s time to coat your chicken:
- Start by dredging each piece of chicken in the flour mixture. Ensure that the chicken is fully covered.
- Dip it into the egg wash, making sure the entire piece is coated.
- Finally, coat the chicken in the panko breadcrumbs. Gently press the breadcrumbs onto the chicken to help them stick.
Pro Tip: For extra-crispy tenders, double-dip the chicken. Coat the chicken a second time in the egg wash and breadcrumbs before frying.
Step 4 – Frying the Chicken Tenders
Heat oil in a large frying pan over medium-high heat. Use enough oil to cover the bottom of the pan and allow for frying the chicken strips evenly. The oil should reach a temperature of about 350°F (175°C).
- Tip: Use a thermometer to ensure the oil is at the right temperature. If it’s too low, the chicken will absorb the oil and become greasy; too high, and the outside will burn before the inside cooks through.
Carefully lower each piece of chicken into the hot oil. Fry for 4 to 5 minutes per side, or until the chicken is golden brown and crispy. The chicken should reach an internal temperature of 165°F (74°C).
- Tip: Don’t overcrowd the pan. Fry in batches if necessary to maintain the oil temperature.
Step 5 – Draining and Serving
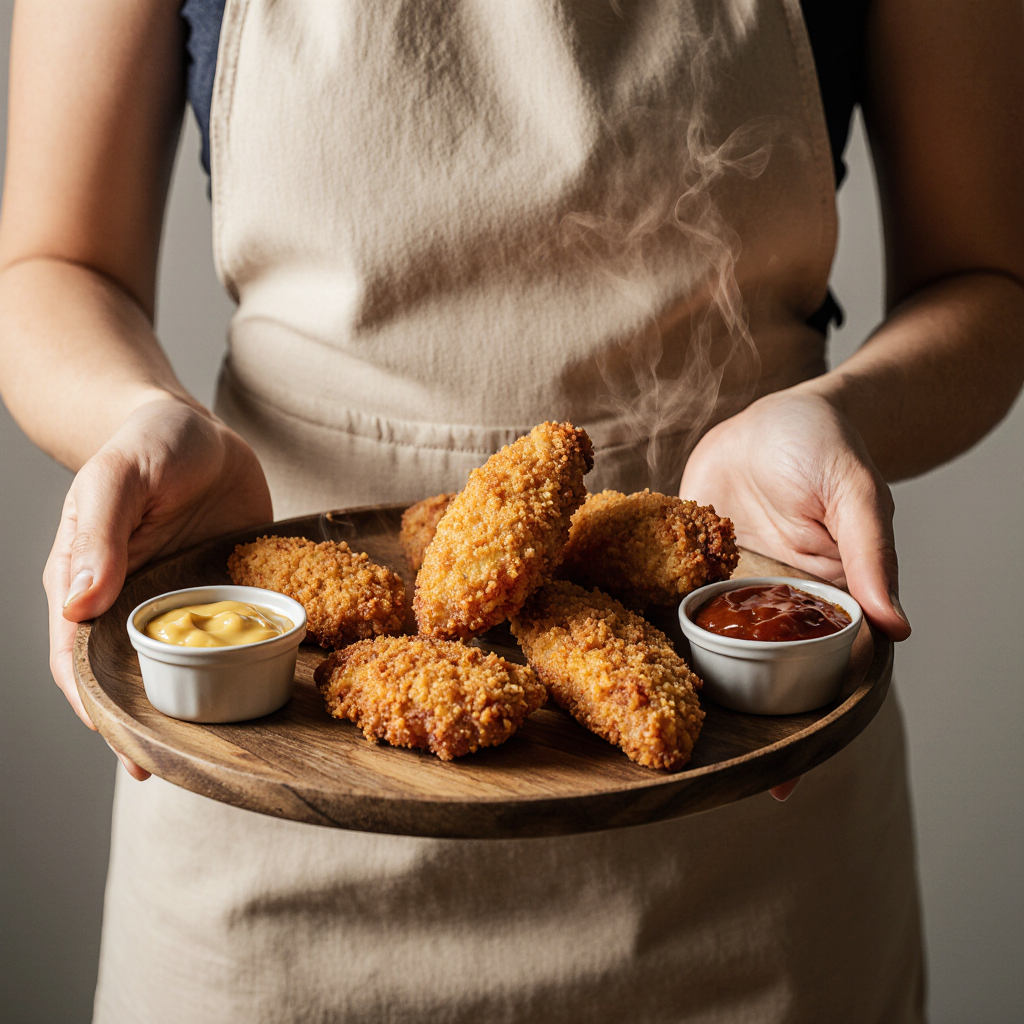
Once the chicken is perfectly crispy, remove it from the oil and place it on a plate lined with paper towels to absorb any excess oil. Let the chicken rest for a few minutes to allow the juices to redistribute and the coating to set.
Serve your crispy fried chicken tenders hot with your favorite dipping sauces, such as honey mustard, BBQ sauce, or ranch.
Tips for the Crispiest Fried Chicken Tenders
The secret to making the crispiest fried chicken tenders lies in a few simple techniques:
Keep the Oil at the Right Temperature
Maintaining the proper frying temperature is crucial. If the oil is too hot, the chicken will burn on the outside while remaining raw inside. If it’s too cool, the tenders will absorb too much oil and become soggy. Aim for a temperature of around 350°F (175°C) for crispy, golden results.
Use Panko Breadcrumbs
Panko breadcrumbs are light and airy, making them perfect for achieving an extra-crunchy coating on your fried chicken tenders. The texture of panko gives your tenders that satisfying crisp with every bite.
Let the Chicken Rest Before Serving
Once your tenders are fried, let them rest on a paper towel for a few minutes. This will allow the juices to redistribute inside the chicken, ensuring they stay juicy while the coating sets to a perfect crunch.
Common Mistakes to Avoid When Making Fried Chicken Tenders
Mistake 1 – Using the Wrong Oil
Not all oils are created equal when it comes to frying. Oils with a high smoke point, such as vegetable or peanut oil, are best for frying chicken. Avoid oils with lower smoke points, like olive oil, as they can burn at high temperatures.
Mistake 2 – Not Properly Coating the Chicken
If your coating isn’t sticking properly, your tenders will end up soggy. Make sure you follow the three-step dredging process carefully and coat every piece of chicken fully in each bowl. Double-dipping helps ensure a better, crispier coating.
Mistake 3 – Overcrowding the Frying Pan
Overcrowding the pan can lower the oil temperature, leading to greasy, undercooked chicken. Fry your chicken in small batches to ensure each piece gets the space it needs to cook properly.
How to Store and Reheat Fried Chicken Tenders
While freshly fried chicken tenders are best enjoyed immediately, you can store leftovers for later!
Storing Leftovers
Allow the chicken tenders to cool completely before storing them. Place them in an airtight container and store them in the fridge for up to 3 days.
Reheating Tips
To keep your fried chicken tenders crispy, the best way to reheat them is in the oven. Preheat your oven to 375°F (190°C), place the tenders on a baking sheet, and bake for 10-15 minutes, or until heated through.
Pro Tip: You can also reheat your tenders in an air fryer to restore their crispiness.
FAQs About Making Perfect Fried Chicken Tenders
What’s the Best Type of Chicken to Use for Fried Tenders?

Boneless, skinless chicken breasts or pre-cut chicken tenders are ideal for this recipe. They cook evenly and remain tender when fried.
How Do I Make Sure My Fried Chicken Tenders Are Crispy?
For extra-crispy tenders, use panko breadcrumbs, ensure the oil is at the right temperature, and double-dip your chicken for that perfect crunch.
Can I Make Fried Chicken Tenders Ahead of Time?
Yes, you can prep and coat the chicken tenders ahead of time, but fry them fresh for the crispiest results.
Can I Freeze Fried Chicken Tenders?
Yes! After frying, allow the tenders to cool completely, then place them on a baking sheet in a single layer. Once frozen, transfer them to a zip-top bag. To reheat, bake from frozen at 375°F (190°C) until crispy.
Conclusion
Now that you know how to make perfect fried chicken tenders, it’s time to put this recipe into action. Whether you’re serving them at dinner, as a snack, or for a gathering, these tenders are sure to impress everyone. With the right techniques and a bit of practice, you’ll soon be making perfectly crispy, juicy chicken tenders every time.
Pro Tip: Don’t forget to experiment with different seasonings and sauces to make these tenders your own. So go ahead, fire up the stove, and treat yourself to a batch of irresistible homemade fried chicken tenders today!