
7 Irresistible Steps to Make Starbucks Cake Pops at Home (Ultimate Guide)
7 Irresistible Steps to Make Starbucks Cake Pops
If you’ve been searching for cake pop recipes that taste just like Starbucks, you’re in for a treat. Ever found yourself craving a Starbucks cake pop after a long day? You’re not alone. There’s something incredibly satisfying about biting into that soft, sweet interior wrapped in a crisp chocolate shell. But what if you could skip the coffee shop and recreate that joy right in your kitchen? With the right cake pop recipe, you can bring those delicious little treats to life—without breaking the bank or waiting in line.
In this guide, you’ll learn how to make Starbucks-style cake pops at home using simple ingredients, a few tools, and a whole lot of love. Whether you’re making them for a party, your kids, or just yourself (no judgment!), this step-by-step guide will help you master the perfect cake pop.
Cake pop recipes
don’t get much better than this Starbucks copycat version. If you’ve ever craved that soft, frosted bite of joy from your favorite coffee shop, now you can recreate it right at home. Whether you’re planning a birthday party, a sweet treat for your kids, or just want to impress yourself, this guide walks you through everything you need to make perfect cake pops step by step.
Table of Contents
What Are Cake Pops? Starbucks Style Explained
Cake pops are essentially small balls of crumbled cake mixed with frosting, shaped into spheres, and coated in chocolate or candy melts. Starbucks cake pops stand out for their creamy texture, consistent shape, and adorable designs—especially their famous pink birthday cake pops.
When you make them at home, you get full control over the flavor, coating, and presentation. Think of it as edible art with a purpose: tasting amazing.
Ingredients You’ll Need (With Substitutions)
Here’s what you need to recreate those iconic cake pops:
| Ingredient | Quantity | Substitution Options |
|---|---|---|
| Vanilla Cake Mix | 1 box | Homemade vanilla cake |
| Frosting | 1/2 cup | Cream cheese frosting, homemade version |
| White Chocolate Chips | 2 cups | Candy melts or almond bark |
| Vegetable Oil | 1 tbsp | Coconut oil, shortening |
| Sprinkles | As desired | Crushed candies, colored sugar |
| Lollipop Sticks | 12-15 | Paper straws, skewers |
These ingredients are all readily available in most grocery stores and offer room for customization depending on your preferences.
Step-by-Step Instructions: How to Make Starbucks Cake Pops
Follow this guide to get consistent, delicious results every time:
1. Bake the Cake
- Preheat your oven and bake the vanilla cake according to package directions.
- Let the cake cool completely before the next step.
2. Crumble the Cake
- Use your hands or a food processor to break the cake into fine crumbs.
- The finer the crumbs, the smoother your cake pop texture will be.
3. Add Frosting
- Gradually mix in the frosting.
- Start with a small amount—you want the mixture to be moist and pliable, not soggy.
4. Shape the Cake Balls
- Roll the mixture into 1-inch balls.
- Place them on a parchment-lined baking sheet.
5. Chill the Balls
- Freeze or refrigerate the balls for at least 20–30 minutes.
- Chilling helps them hold their shape during dipping.
6. Melt the Coating
- Microwave the white chocolate chips or candy melts with the vegetable oil in 30-second intervals.
- Stir until smooth and glossy.
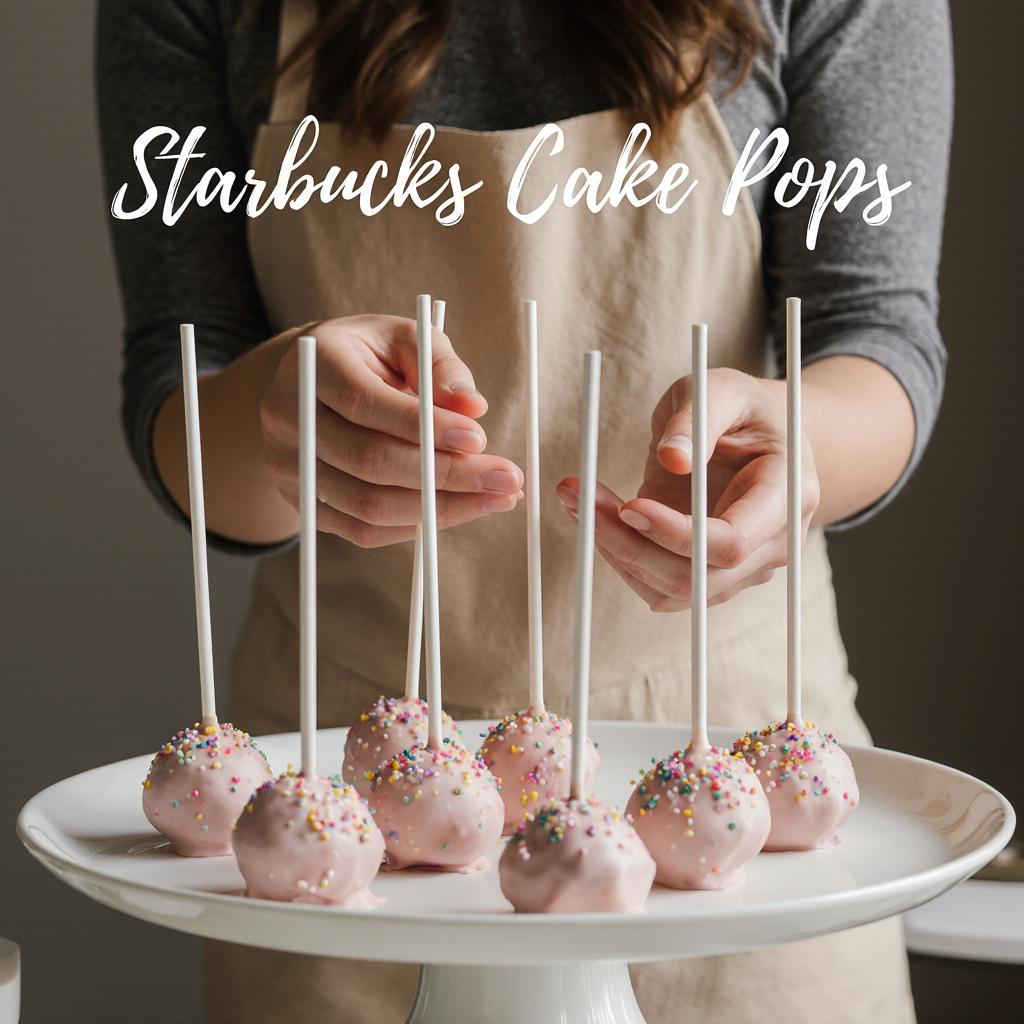
7. Insert the Sticks
- Dip the tip of each stick into the melted coating before inserting it halfway into each cake ball.
- This helps anchor the stick and prevents falling.
8. Dip and Decorate
- Fully dip each cake pop into the melted coating.
- Gently tap off excess and decorate with sprinkles before the coating sets.
9. Let It Set
- Place the cake pops upright in a foam block or cup.
- Let them dry completely before serving or storing.
Presentation Tips: Just Like Starbucks
- Color-Coordinated Sprinkles: Match the colors to birthdays, baby showers, or holidays.
- Drizzle Designs: Use a contrasting color to drizzle over the top for a professional finish.
- Serve with Style: Use a mason jar, dessert stand, or gift box for added charm.
Storage and Shelf Life
Cake pops can be stored in:
- Room Temperature: Up to 2 days (if coated well)
- Refrigerator: Up to 7 days in an airtight container
- Freezer: Up to 1 month (wrap individually in cling film)
Nutritional Facts (Per Cake Pop)
| Nutrient | Approximate Value |
| Calories | 160–180 |
| Sugar | 15–18g |
| Fat | 8–10g |
| Protein | 1–2g |
Pro Tips for Success
- Use gloves to avoid warming the mixture too much with your hands.
- Don’t overdo the frosting or you’ll end up with mushy pops.
- If your coating cracks, try letting the cake balls warm slightly before dipping.
- For smoother coating, add a bit more oil or shortening.
Frequently Asked Questions (FAQ)
Can I make cake pops without a stick?
Absolutely! Simply serve them in mini cupcake liners as cake truffles.
How do I prevent the cake pops from falling apart?

Make sure the cake balls are chilled and not overloaded with frosting.
Can I use different cake flavors?
Yes! Chocolate, red velvet, or lemon cake work great, too.
Why does my coating crack?
The temperature contrast is usually the cause. Let the balls warm up slightly before dipping.
Is this one of the best cake pop recipes out there?
Definitely. It’s simple, customizable, and delivers that iconic Starbucks flavor at home.
Conclusion: A Bite of Joy, Anytime You Want
Now that you know how to make Starbucks cake pops at home, what’s stopping you? Whether you’re preparing for a party or just looking to surprise someone with a sweet treat, this recipe checks all the boxes: easy, delicious, and fun to make. Your kitchen is your new favorite bakery!
Ready to share your creations? Leave a comment below, tag your cake pops on Instagram, or pin this recipe to your dessert board!
You’ve got this—now go create something sweet. 🍭